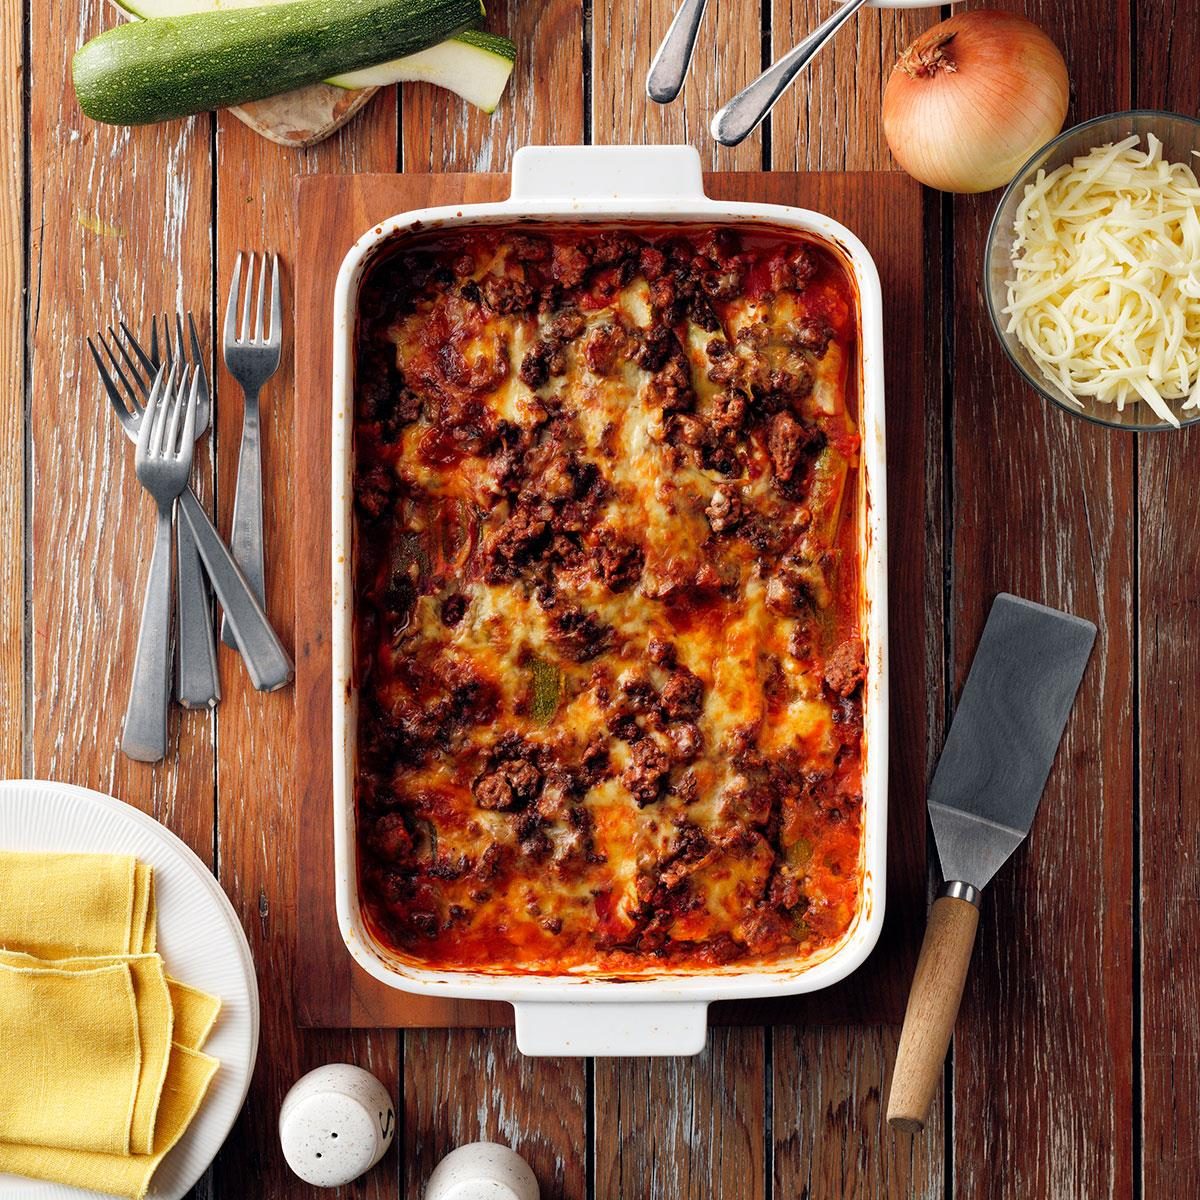
How to Make Zucchini Lasagna Without the Watery Mess
When the summer garden explodes with an abundance of zucchini, resourceful cooks know it’s time to get creative. While sweet breads and savory stir-fries are popular choices, few dishes capture the heart quite like a hearty, cheesy lasagna. Zucchini lasagna offers a brilliant, lighter alternative to its traditional pasta-laden cousin, allowing you to indulge in those comforting layers of rich sauce and creamy cheese, all while sneaking in a generous helping of wholesome vegetables. It's an ideal meal for those seeking a gluten-free option, a way to lighten up their dinner, or simply an ingenious method to utilize that prolific harvest. However, many aspiring zucchini lasagna chefs encounter a common, disheartening problem: a watery, soupy mess rather than a firm, sliceable dish. The culprit? Zucchini itself, which is over 90% water. But don't despair! With a few strategic techniques, you can transform your garden's bounty into a truly spectacular and perfectly structured noodle-free zucchini lasagna that’s just as satisfying as its pasta counterpart – minus the excess moisture.The #1 Challenge: Conquering Zucchini's High Water Content
The secret to a non-watery zucchini lasagna lies almost entirely in effective moisture management. Unlike shredded zucchini, which can be easily pressed in a French press or squeezed dry, zucchini slices require a different approach to retain their structural integrity as noodle replacements. Here’s how to outsmart nature and ensure your lasagna holds its shape beautifully.Precision Slicing: The Foundation of a Firm Lasagna
The thickness of your zucchini slices is paramount. Thicker slices mean more water to release, leading to a higher likelihood of a soggy outcome.- Go Thin: Aim for slices no thicker than 1/4 inch, ideally even thinner. This maximizes the surface area, allowing more moisture to escape during cooking and creating a more pliable "noodle" that cooks evenly.
- Invest in a Mandoline: While a sharp knife and a steady hand can work, a mandoline is truly the perfect tool for achieving consistently thin, uniform slices. Just remember to use its safety guard and exercise extreme caution to prevent injuries.
The Magic of Pre-Treatment: Drawing Out Moisture
Once sliced, zucchini needs a little help to shed its excess water before it ever sees the oven. There are several highly effective methods, and often, combining them yields the best results.Salting Method (Ideal for Gluten-Free)
This classic technique leverages osmosis to draw water out of the zucchini.- Sprinkle Generously: Lay your thinly sliced zucchini on a wire rack set over a baking sheet or on several layers of paper towels. Sprinkle both sides generously with salt.
- Let it Sit: Allow the zucchini to sit for at least 15-30 minutes. You'll visibly see beads of water forming on the surface.
- Pat Dry, Thoroughly: Using paper towels or a clean kitchen towel, blot the zucchini slices absolutely dry. This step is crucial – don't skimp on it! The drier you get them now, the firmer your lasagna will be.
Flour Dusting Method
For those who don't mind a little flour, this method acts as an internal moisture absorber during baking.- Light Coating: After slicing, gently toss the zucchini ribbons with a small amount of all-purpose flour. A light, even coating is key – you're not breading them, just providing a thin layer for absorption.
- Gluten-Free Flour Option: If you're avoiding gluten, rice flour or a gluten-free all-purpose blend can work similarly, though the salting method is generally more reliable for GF versions.
Pre-Cooking Zucchini Slices: The Game Changer
Many experienced cooks swear by pre-cooking the zucchini. While it adds an extra step, the difference in texture and moisture content is undeniable. This simple step can truly elevate your zucchini lasagna.- Grilling: Lightly brush slices with olive oil and grill them for 1-2 minutes per side until grill marks appear and they soften slightly. This imparts a lovely smoky flavor and evaporates a significant amount of water.
- Roasting: Arrange slices in a single layer on baking sheets. Roast in a preheated oven (around 375-400°F or 190-200°C) for 10-15 minutes, flipping once, until they are tender and have released moisture. The edges might even get a little caramelized.
- The Trade-Off: Pre-cooking will alter the texture slightly, making the zucchini firmer and less "noodle-like" in pliability. However, the benefit of a firm, non-watery lasagna often outweighs this textural difference for most.
Expert Tip: For maximum moisture reduction, consider a combination approach. Thinly slice, salt, pat dry, and then finish with a quick grill or roast. This multi-pronged attack ensures the driest possible zucchini "noodles."
Beyond Zucchini: Optimizing Other Ingredients for Success
While zucchini is the primary moisture culprit, other ingredients can contribute to a watery lasagna if not handled correctly.Choosing Your Zucchini Wisely
Size matters when it comes to zucchini.- Small to Medium is Best: Opt for small to medium-sized zucchini. These tend to have firmer flesh, fewer seeds, and a more concentrated flavor.
- Avoid Oversized Zucchini: Large, overgrown zucchini often have large, watery seeds and a somewhat mushy, spongy texture that isn't ideal for slicing and layering.
Crafting a Robust, Reduced Sauce
A thin, watery meat sauce will only add to your lasagna's moisture woes.- Simmer Uncovered: When making your meat sauce (typically lean ground beef simmered with tomato sauce and seasonings), allow it to simmer uncovered. This lets excess moisture evaporate, resulting in a thicker, richer sauce that clings to the zucchini.
- Thicken it Up: Don't be afraid to let your sauce simmer for a good while until it's noticeably reduced. A touch of tomato paste can also deepen flavor and aid in thickening.
Strategic Cheese Selection
The type of cheese you choose, particularly for the creamy layers, can impact the final moisture level.- Ricotta vs. Cottage Cheese: Both are excellent choices for the creamy layer. Ricotta is generally richer and smoother, while cottage cheese offers a slightly tangier flavor and curded texture. Whichever you choose, ensure it's well-drained. Many brands of ricotta, in particular, can be quite wet. Place it in a fine-mesh sieve set over a bowl for at least 30 minutes to allow excess liquid to drip out.
- Part-Skim Mozzarella is Key: When it comes to mozzarella, always opt for part-skim, low-moisture varieties. Fresh mozzarella, while delicious, has a much higher water content and will release significant liquid during baking, leading to a soupy lasagna. Shredded part-skim mozzarella melts beautifully and maintains a lower moisture profile.
Assembling Your Masterpiece: Tips for a Perfect Bake
Once your zucchini is prepped and your sauce and cheese mixtures are ready, assembly is straightforward.- Layering Strategy: Start with a thin layer of sauce at the bottom of your baking dish to prevent sticking. Then, layer zucchini slices, overlapping them slightly to create a continuous "noodle" layer. Follow with the creamy cheese mixture, then meat sauce, and repeat. Finish with a generous topping of mozzarella.
- Don't Overfill: While tempting to pack in as many layers as possible, overfilling can lead to uneven cooking and potential overflow. Leave some space at the top.
- Bake and Rest: Bake your lasagna covered for the initial period to ensure even cooking, then uncover to allow the cheese to brown beautifully. Once out of the oven, let the lasagna rest for at least 10-15 minutes before slicing. This crucial resting time allows the layers to set, preventing them from falling apart and further allowing any remaining moisture to reabsorb.
Making it Your Own: Vegetarian Options and Flavor Enhancements
Zucchini lasagna is incredibly versatile. For a delightful vegetarian version, swap the meat sauce for a hearty mix of sautéed mushrooms, spinach, and perhaps some finely diced bell peppers and onions. Remember to sauté these vegetables thoroughly to cook off their moisture before adding them to your sauce or cheese mixture. Boost the flavor with fresh herbs like basil, oregano, and thyme. A pinch of nutmeg in the ricotta mixture adds a classic Italian touch, and a generous amount of freshly grated Parmesan cheese between layers will enhance the savory depth.Freezing Your Zucchini Lasagna for Future Cravings
Just like traditional lasagna, this zucchini version freezes beautifully, making it an excellent meal-prep option.- Assemble Unbaked: Prepare your lasagna in a freezer-safe baking dish but do not bake it.
- Wrap Tightly: Cover the dish first with a layer of plastic wrap, pressing it down to remove air, then tightly wrap with a layer of heavy-duty aluminum foil.
- Freeze: Store in the freezer for up to three months.
- Thawing and Baking: When ready to bake, thaw the lasagna overnight in the refrigerator. Then, bake as directed in your recipe, potentially adding 10-15 minutes to the covered baking time since it will be colder than a freshly assembled lasagna.
